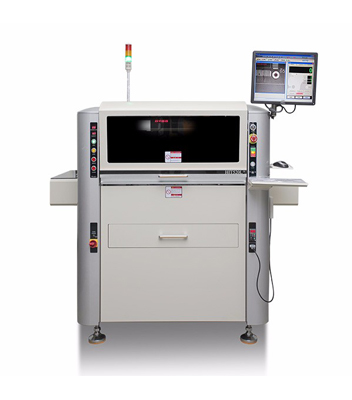
Solder paste printing machine is an essential equipment in SMT process production. It is generally composed of board loading, adding solder paste, embossing, circuit board transmission and other structures. There are two kinds of widely used full-automatic solder paste printing machine and semi-automatic solder paste printing machine.
1、 Preparations before starting the full-automatic solder paste printer:
Check whether the power supply and air supply parts of the equipment are normal (air pressure 0.55 ± 0.05Mpa).
Check whether there are tools in the moving part of the equipment to prevent the equipment from hitting the machine when returning to the original point.
After the power is turned on, people are not allowed to leave the equipment when the equipment returns to the original point. In case of abnormality, press emergency stop and check.
2、 Preparation before programming of automatic solder paste printer:
Take out all thimbles and baffles and clean them completely.
Clean the surface of the table with cloth and alcohol, and the surface shall be free of foreign matters, solder paste and dust.
Clean the surface of the rail edge clamp with rag and alcohol, and the surface shall be free of foreign matters, solder paste and dust.
Confirm whether the wiping system is installed and whether the roller is installed in place.

3、 Track adjustment and positioning of automatic solder paste printer:
Measure the length and width of PCB on the screen ruler, and adjust the width of the track after input.
Put the PCB into the track and confirm whether the width is appropriate and whether the inlet and outlet are smooth.
Put the baffle and thimble on the table, then put the PCB into the track, jack up the table and clamp it to confirm whether the PCB can be clamped effectively. If not, adjust the track width appropriately, and re confirm the inlet and outlet width until it can be clamped.
Place the thimble. It is required that the placement direction of the chip thimble should be perpendicular to or less than 45 degrees from the scraper. The cylindrical thimble should be placed evenly. The cylindrical thimble should be placed separately at the bottom of QFN, BGA and other dense foot elements to ensure that the scraper is fully stressed. After the thimble is placed, gently shake the thimble by hand to confirm whether the thimble will shake. If there is shaking, it indicates that the bottom of the thimble is uneven and needs to be cleaned
Adjust the height of the table to ensure that the PCB printing surface and the side clamp surface are on the same plane.